New Zealand is one of those places where there are so many amazing locations to see, that it can be a nightmare trying to fit it all into one holiday. I’ve just come back from a 3 week stay on the north and south islands of NZ and all I can say is WOW!
So much beauty and so little time.…
Below I have included some shots from the most jaw dropping locations that I visited.
Lake Pukaki
In bright sunlight, the colour of this lake is a very unique shade of blue which is caused by finely ground rock particles washed down from the glaciers. Lake Pukaki is one of three lakes in the area that are running in a north/south direction. The other two are Lake Tekapo and Lake Ohau. At the northern end of the lake is the iconic Mount Cook.
Mount Cook is the tallest mountain in New Zealand (3,724m) and it's rugged slopes helped Sir Edmund Hillary to develop his climbing skills in preparation for the conquest of Everest. The mountain is known as Ao-raki to the Maori, which means 'cloud piercer.

Sony A7rII + Sony 100-400mm G Master lens

Sony A7rII + Sony 100-400mm G Master lens

Sony A7rII + Sony 100-400mm G Master lens
Nugget Point
An iconic location for photographers… and its not hard to see why. This panoramic vista is located on the lower east coast of New Zealand’s South Island. The lighthouse at the end of the point is one of the country’s oldest and just below it you will find a colony of fur seals! Sunrise is the perfect time to photograph this dramatic location, so be sure to book an overnighter in Kaka Point as it is the closest town in the area (about 15 min drive).

Sony A7rII + Zeiss 16-35mm f/4 lens

Fujifilm X100F + 23mm f/2 lens
Castle Hill
The sunrise I shot at Castle Hill was brief, but intense!
Castle Hill is located just off the main highway running through Arthur’s Pass on New Zealand’s South Island, approximately 100kms from Christchurch.
Castle Hill is aptly named for its magnificent limestone boulders scattered throughout the area which are reminiscent of an old, run-down stone castle.

Sony A7rII + Zeiss 16-35mm f/4 lens

Sony A7rII + Zeiss 16-35mm f/4 lens

Sony A7rII + Zeiss 16-35mm f/4 lens
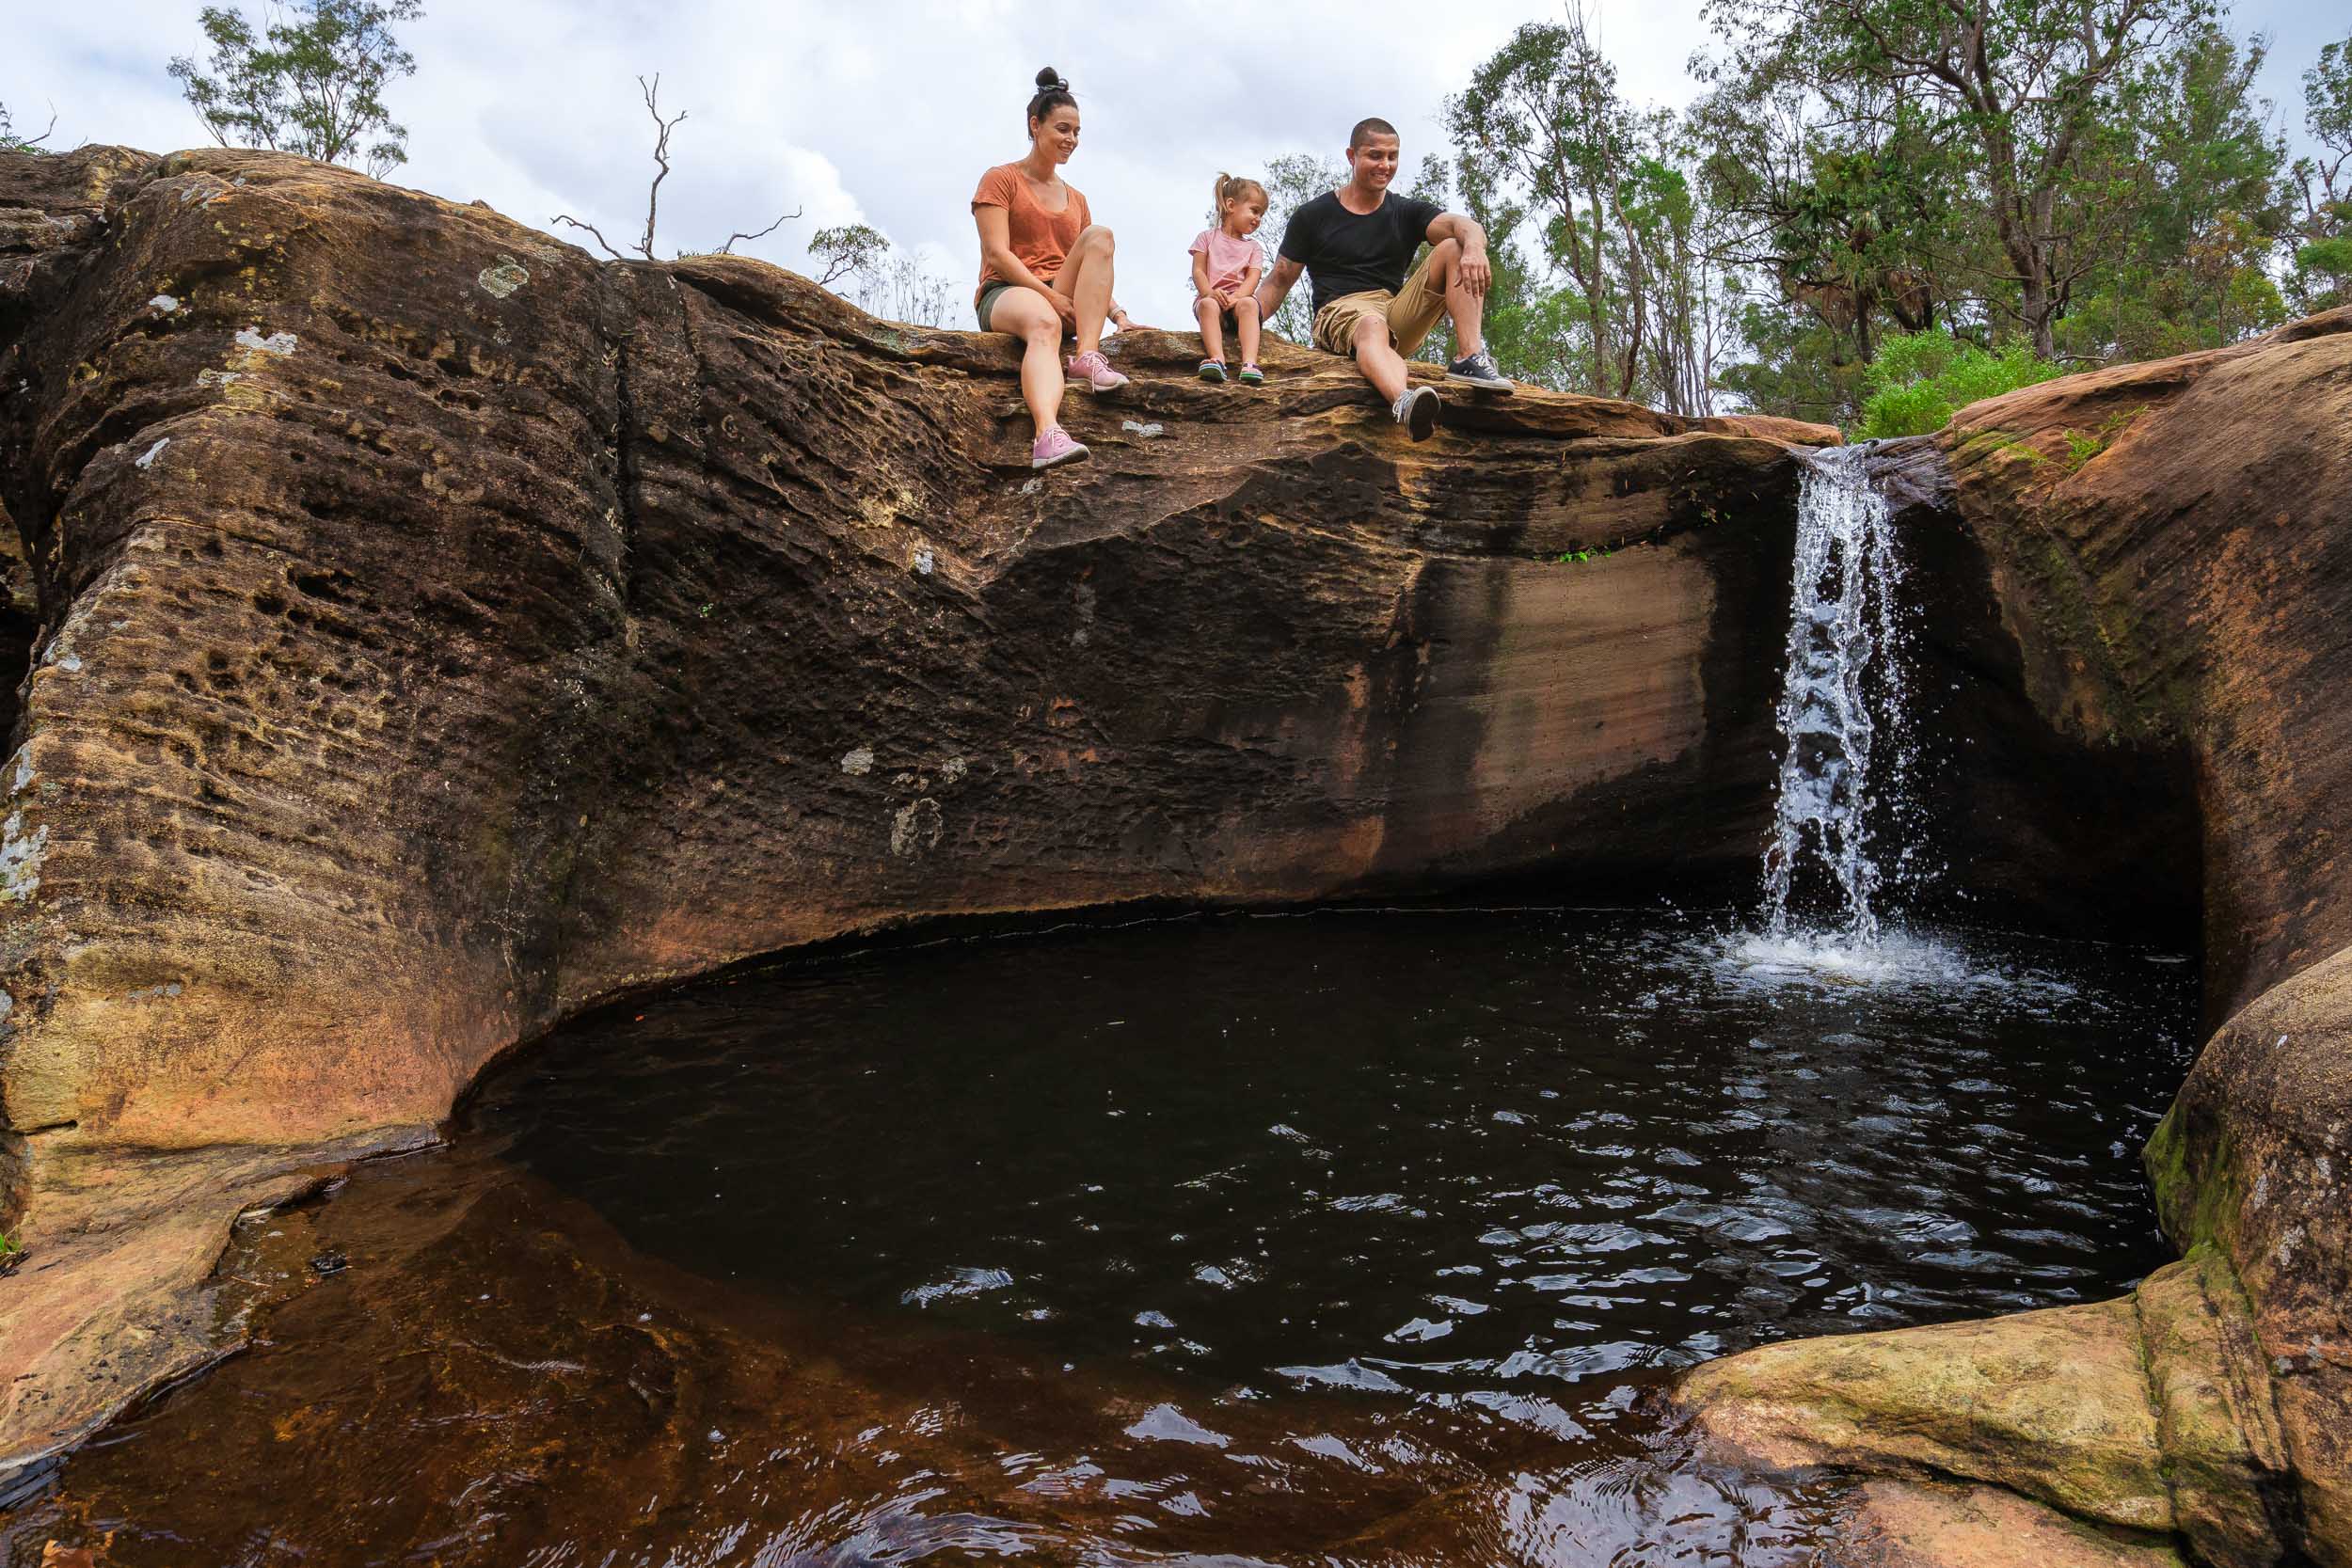
Cave Stream Scenic Reserve
This place is named for its 594m long underground cave system. Unfortunately I lacked the proper footwear and lighting to traverse the cave safely so I had to be content photographing the non-subterranean landscape outside. Fortunately the outside was pretty dramatic as well ;)

Fujifilm X100F + 23mm f/2 lens

Sony A7rII + Zeiss 16-35mm f/4 lens

Fujifilm X100F + 23mm f/2 lens
Redwood Forest, Rotorua
This 6ha Californian Redwood forest is located in Rotorua on New Zealand’s North Island. The spectacular trees here are approximately 118 years old and attract more than 600,000 visitors per year.
My time here was spent slowly walking through the trees, soaking in the atmosphere and looking for little pockets of light streaming through the canopy. Whilst it can be quite dark in amongst these massive sentinels, its these small lit up areas that can really add some dramatic colour and contrast to your images.

Fujifilm X100F + 23mm f/2 lens

Fujifilm X100F + 23mm f/2 lens

Fujifilm X100F + 23mm f/2 lens
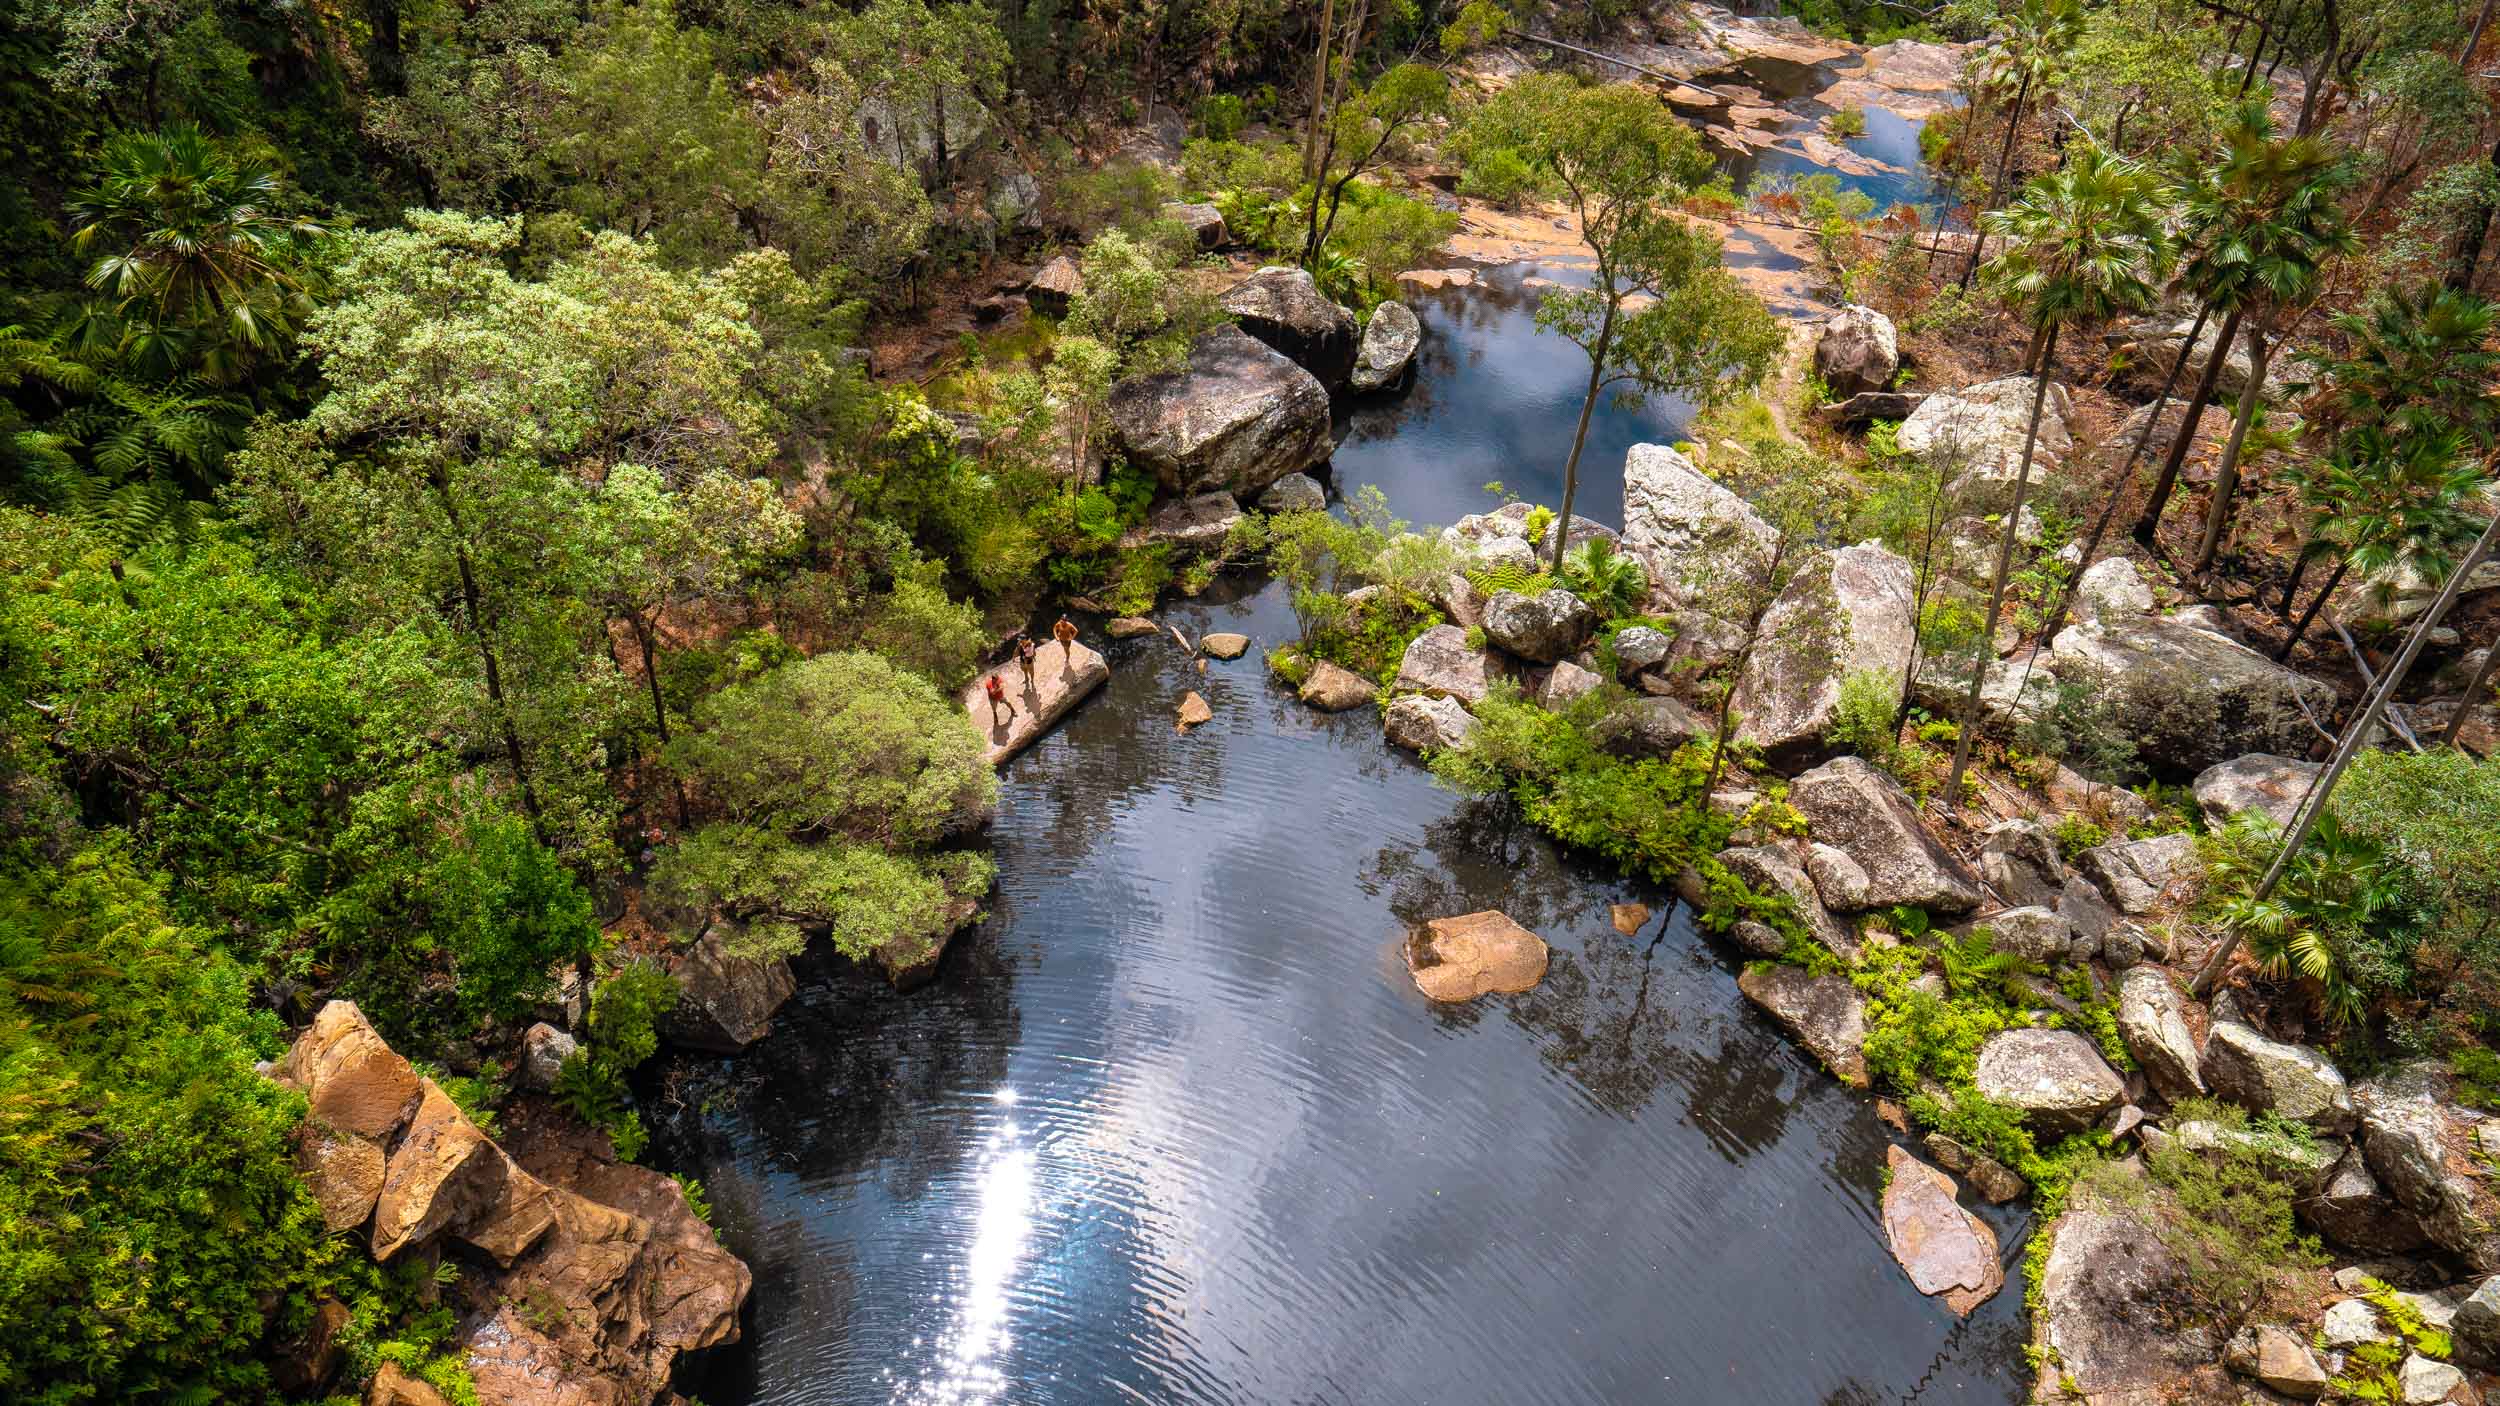
Tongariro National Park
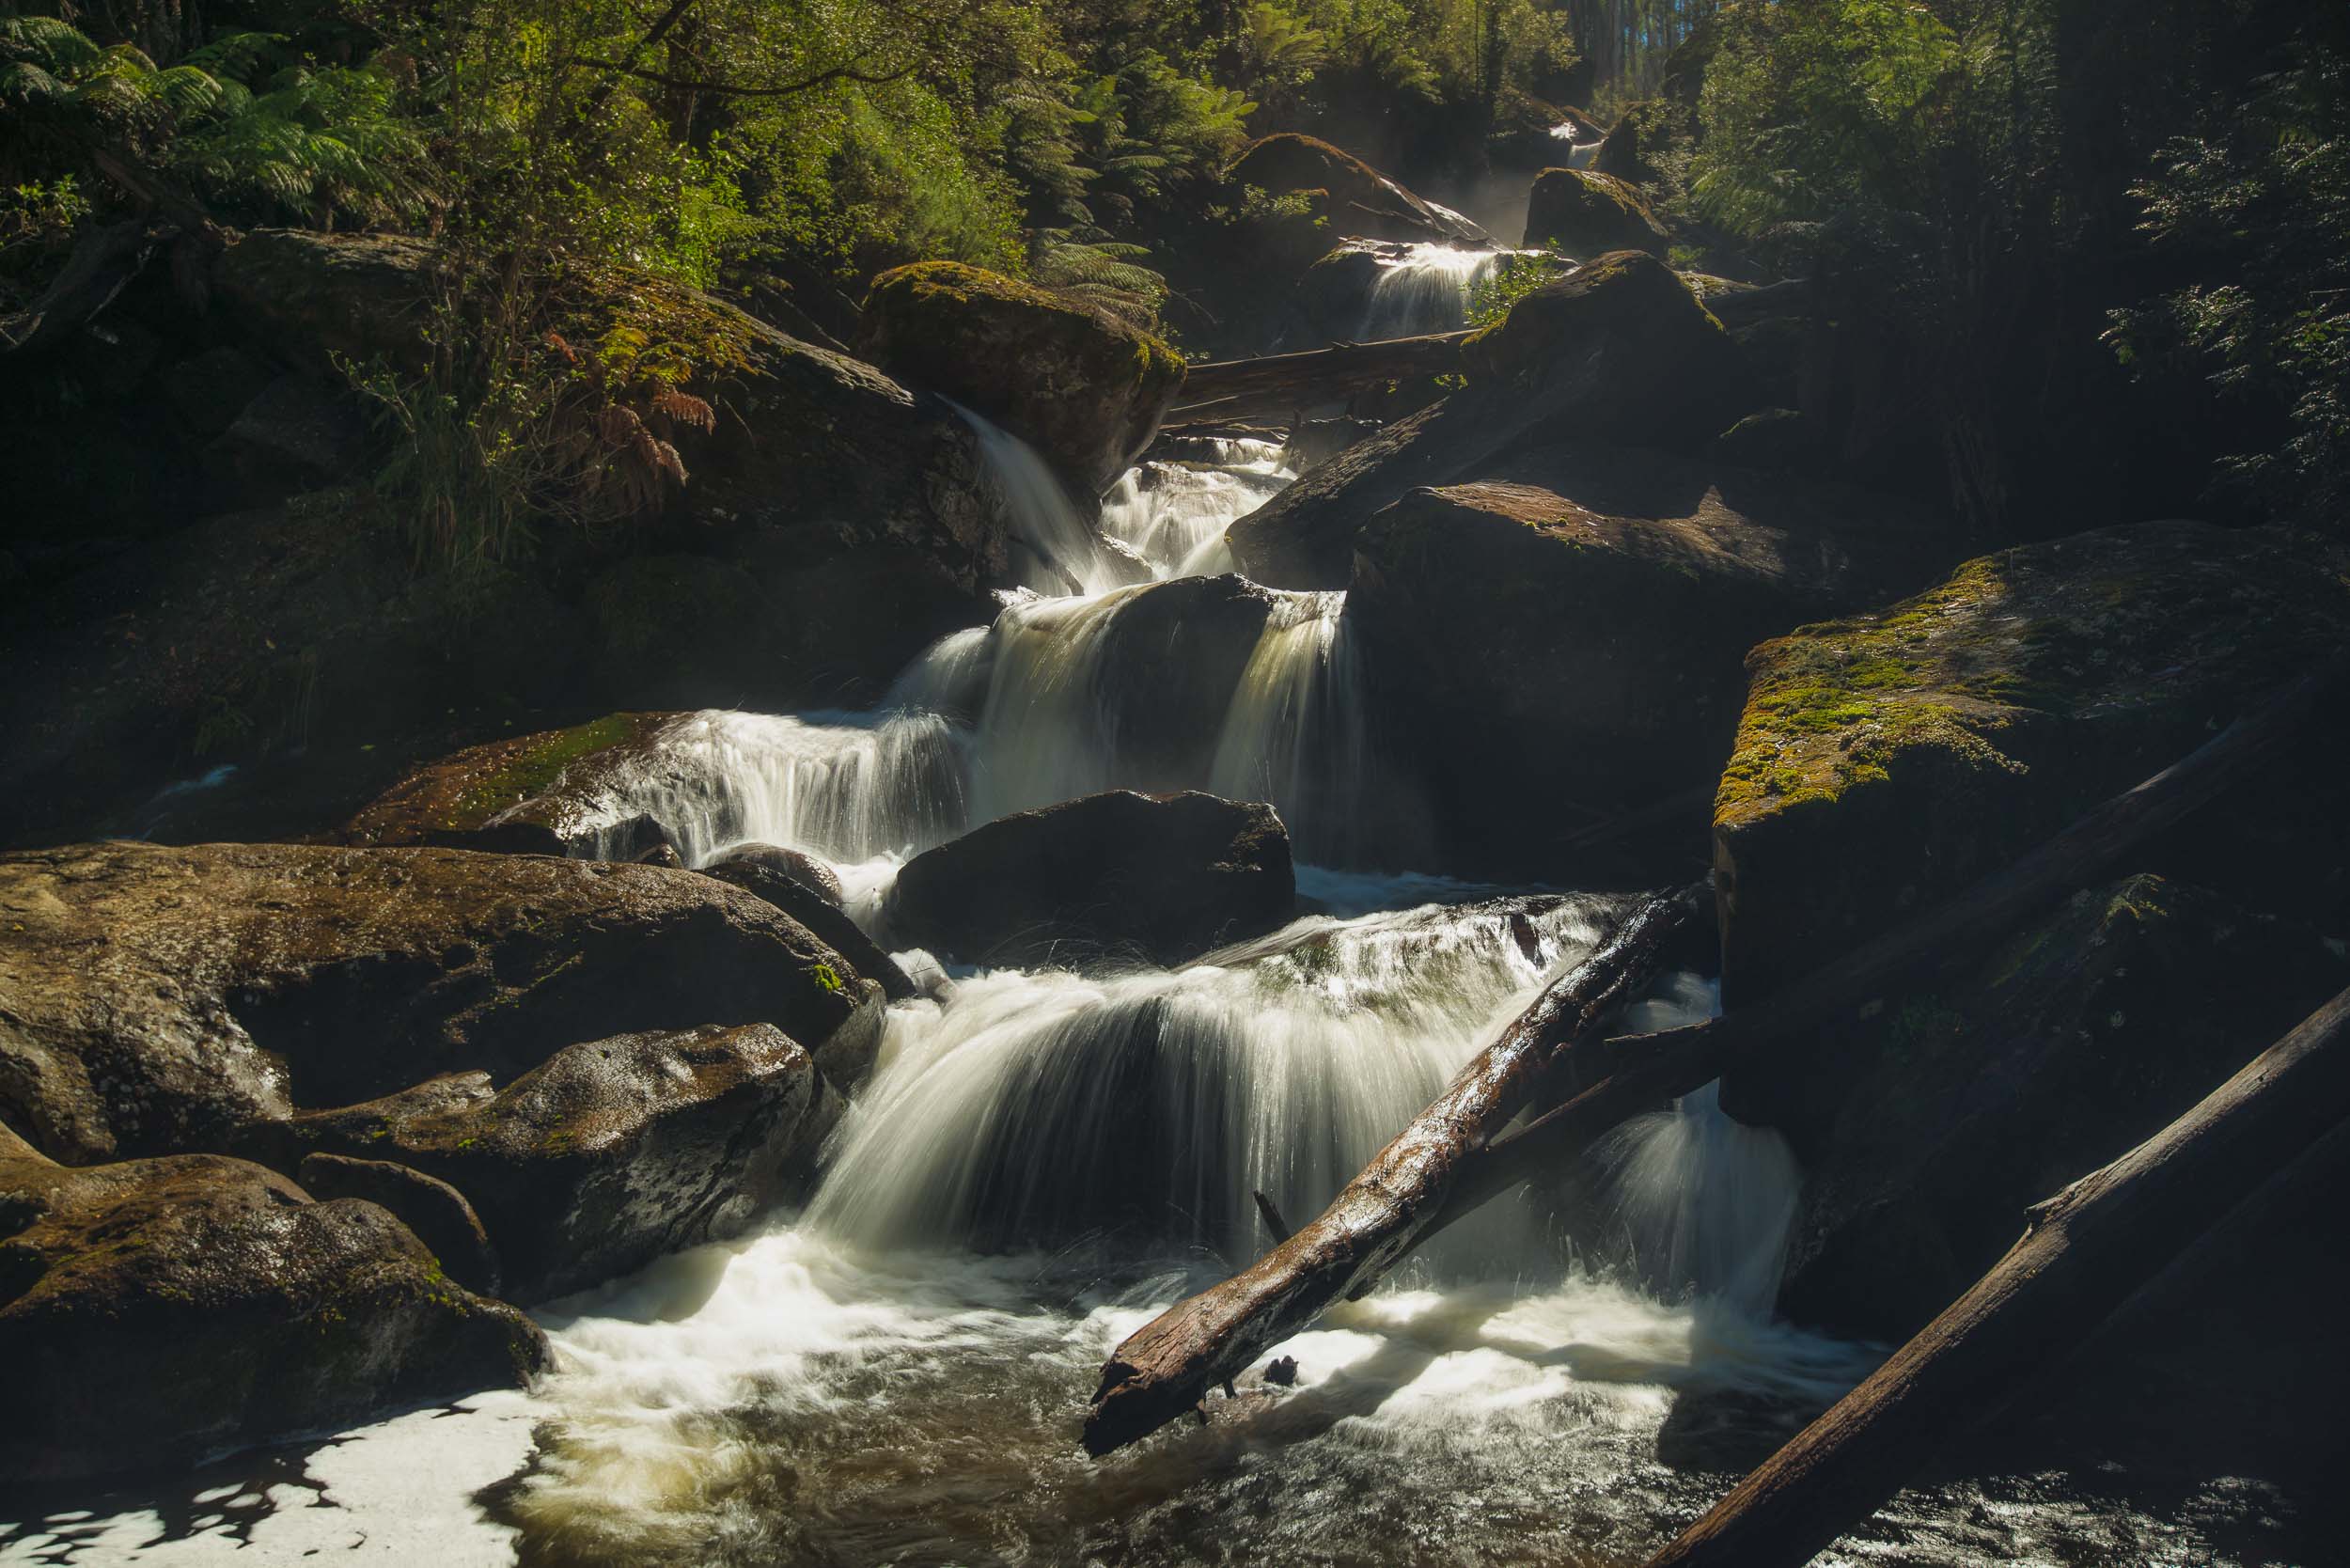
Tawhai Falls (pictured below) is located in the UNESCO Dual World Heritage Tongariro National Park and is also a filming location from Lord of the Rings. Fans of the trilogy will know this place as 'Gollum's Pool'. The water here is so clean and clear. Tongariro was established in 1887 and was the first national park in New Zealand and the fourth in the world.
The third image here was captured at the entrance to the Whakapapa Nature Walk in the national park.

Sony A7rII + Zeiss 16-35mm f/4 lens

Sony A7rII + Zeiss 16-35mm f/4 lens

Fujifilm X100F + 23mm f/2 lens
Lake Tekapo
Home of the iconic Church of the Good Shepherd with the snow capped Southern Alps as the backdrop. Lake Tekapo is located approximately 3 hours south-west of Christchurch and is part of a UNESCO Dark Sky Reserve. In short, it’s a pretty darn good spot for astrophotography….that is, when it’s not raining. I had only scheduled one night in Tekapo and it rained the whole time :(
The only reprieve was on the morning that I was to leave. Despite all that, the lake is beautiful no matter what the weather brings and I managed to grab this quick shot on the way out of town. Tekapo has this cool footbridge that takes you from the town centre across to the Church of the Good Shepherd. In this case, I thought the compression effect of capturing tourists on the bridge with my 400mm lens against the mountain backdrop would make for a cool image.

Sony A7rII + Sony 100-400mm G Master lens
Waikato River, Taupo
I didn’t really do any shooting while in Taupo as I was there for Christmas, but I did capture this one image while out on a drive. The natural colour of the Waikato River is stunning to begin with, but then add in the reflections from this old tree and you’ve got a beautiful, intimate scene that I just had to capture!
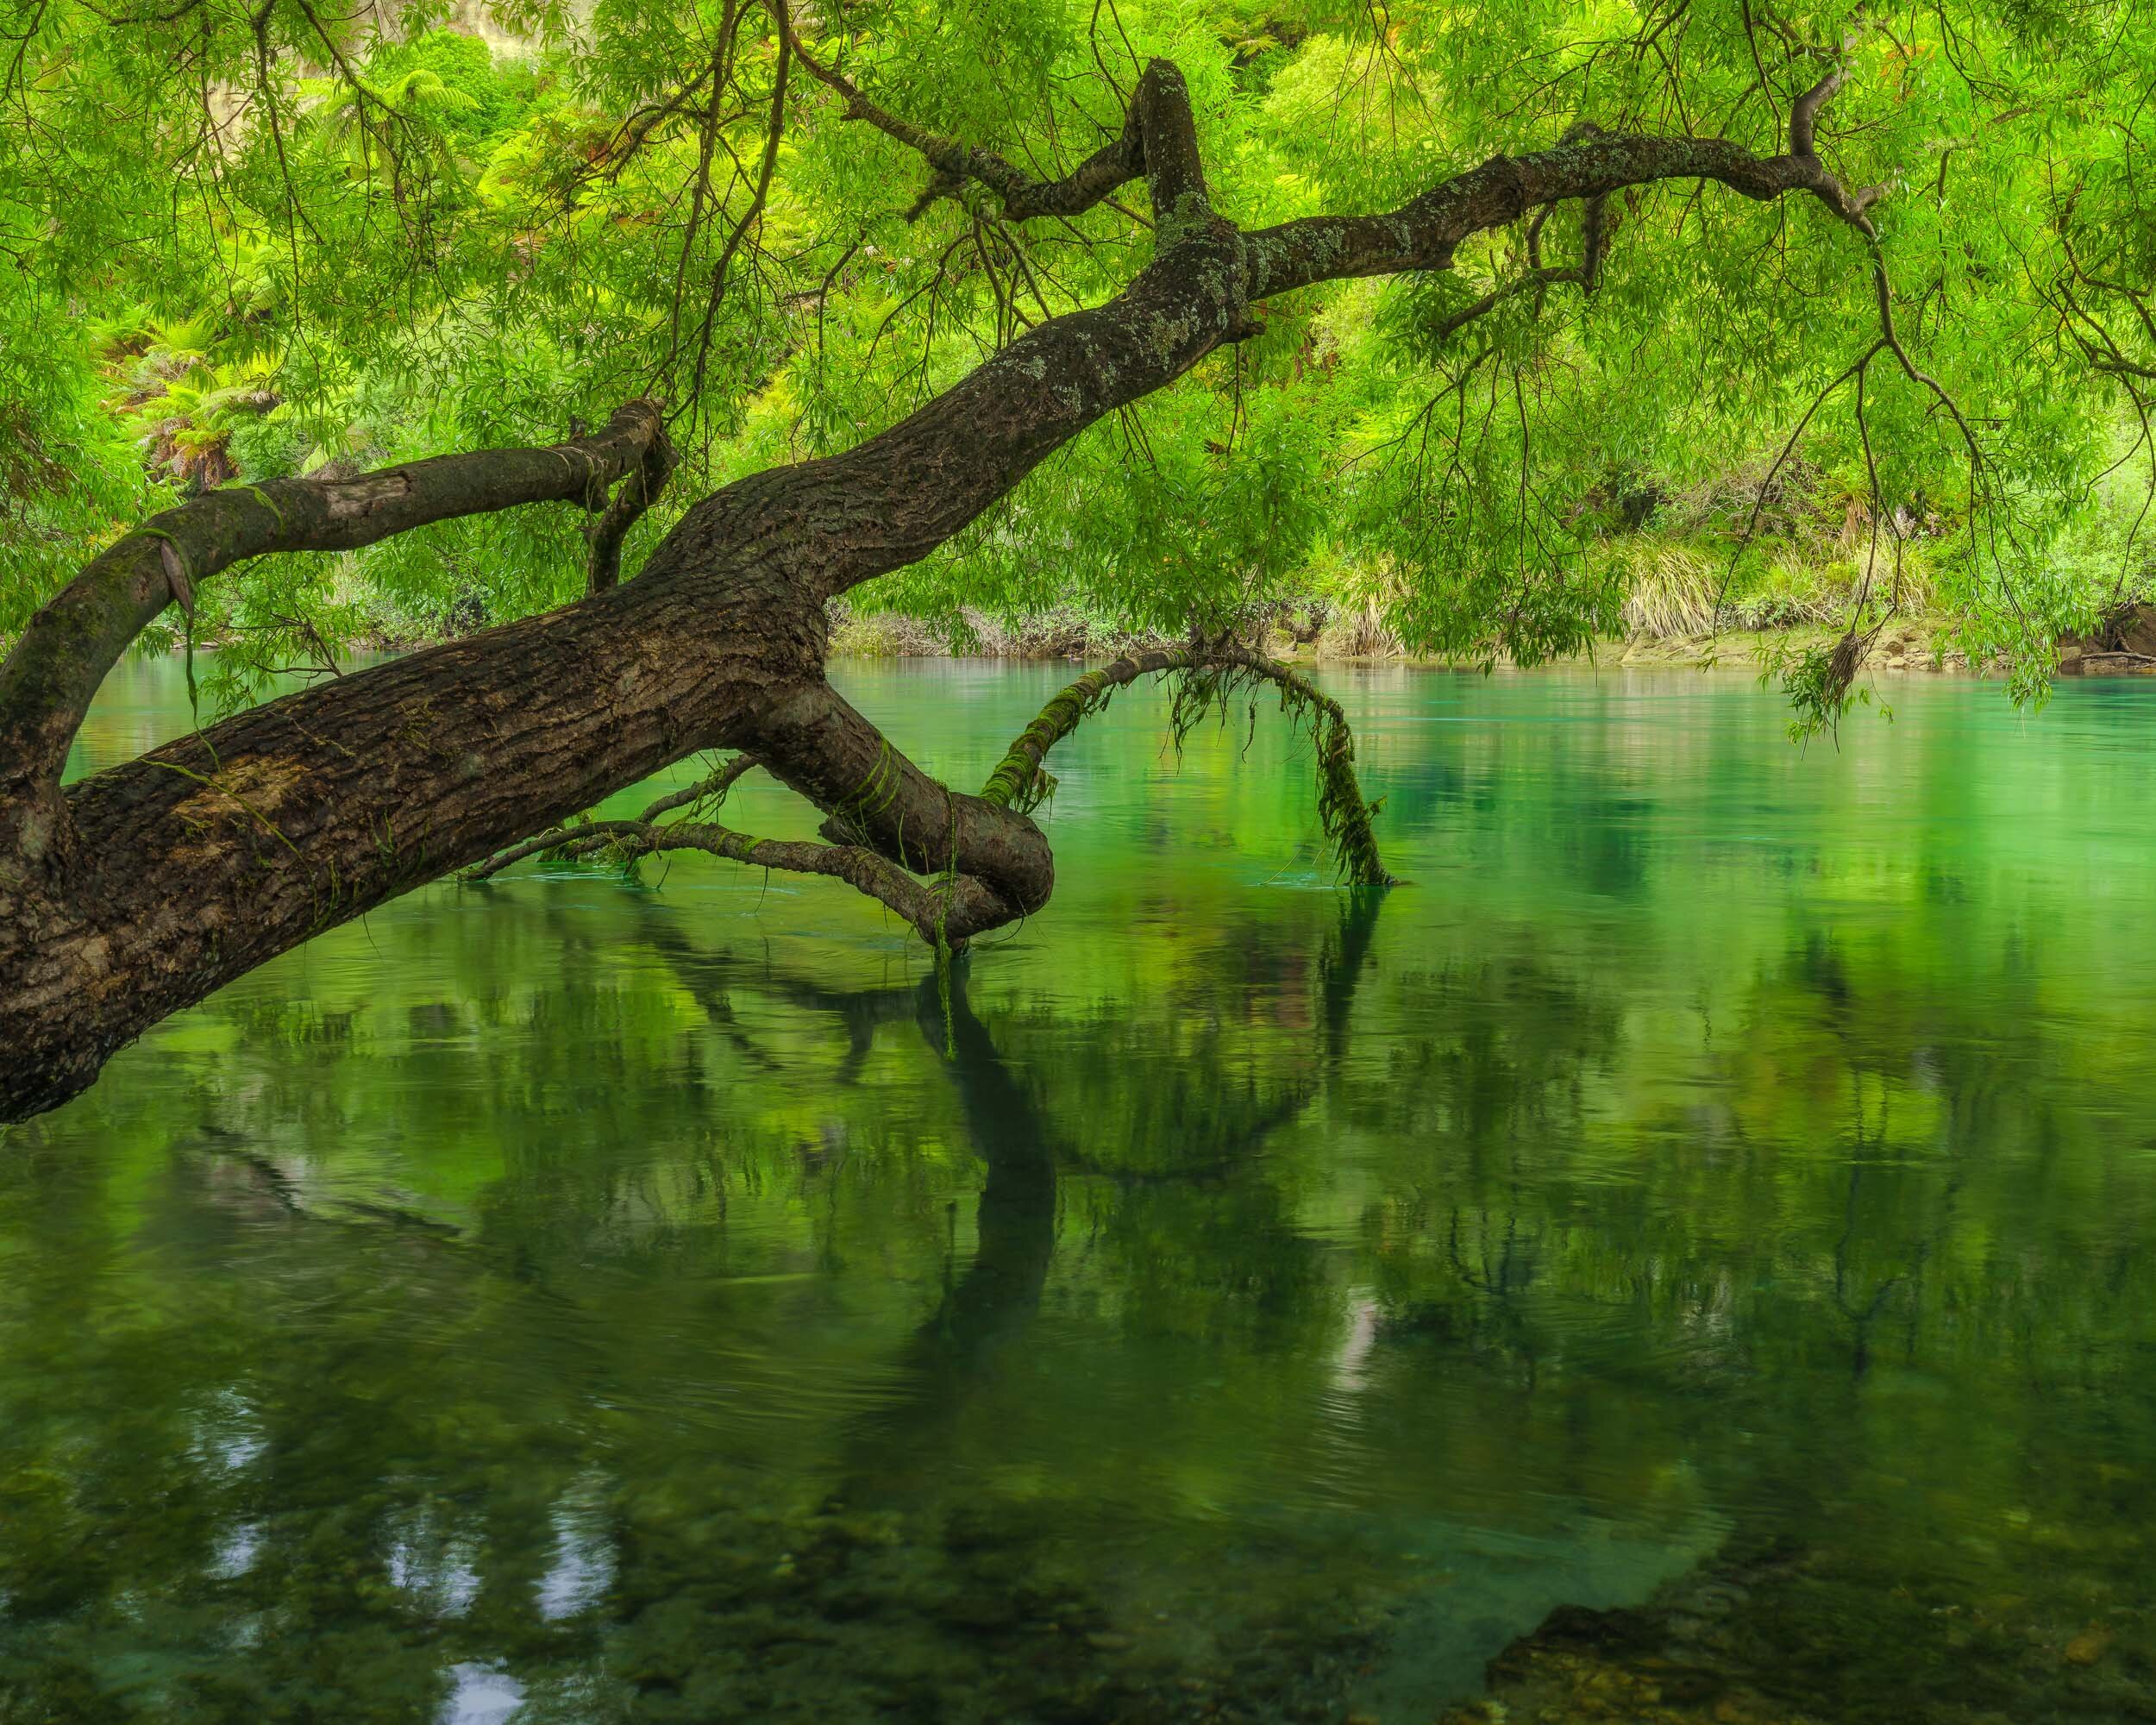
Sony A7rII + Zeiss 16-35mm f/4 lens
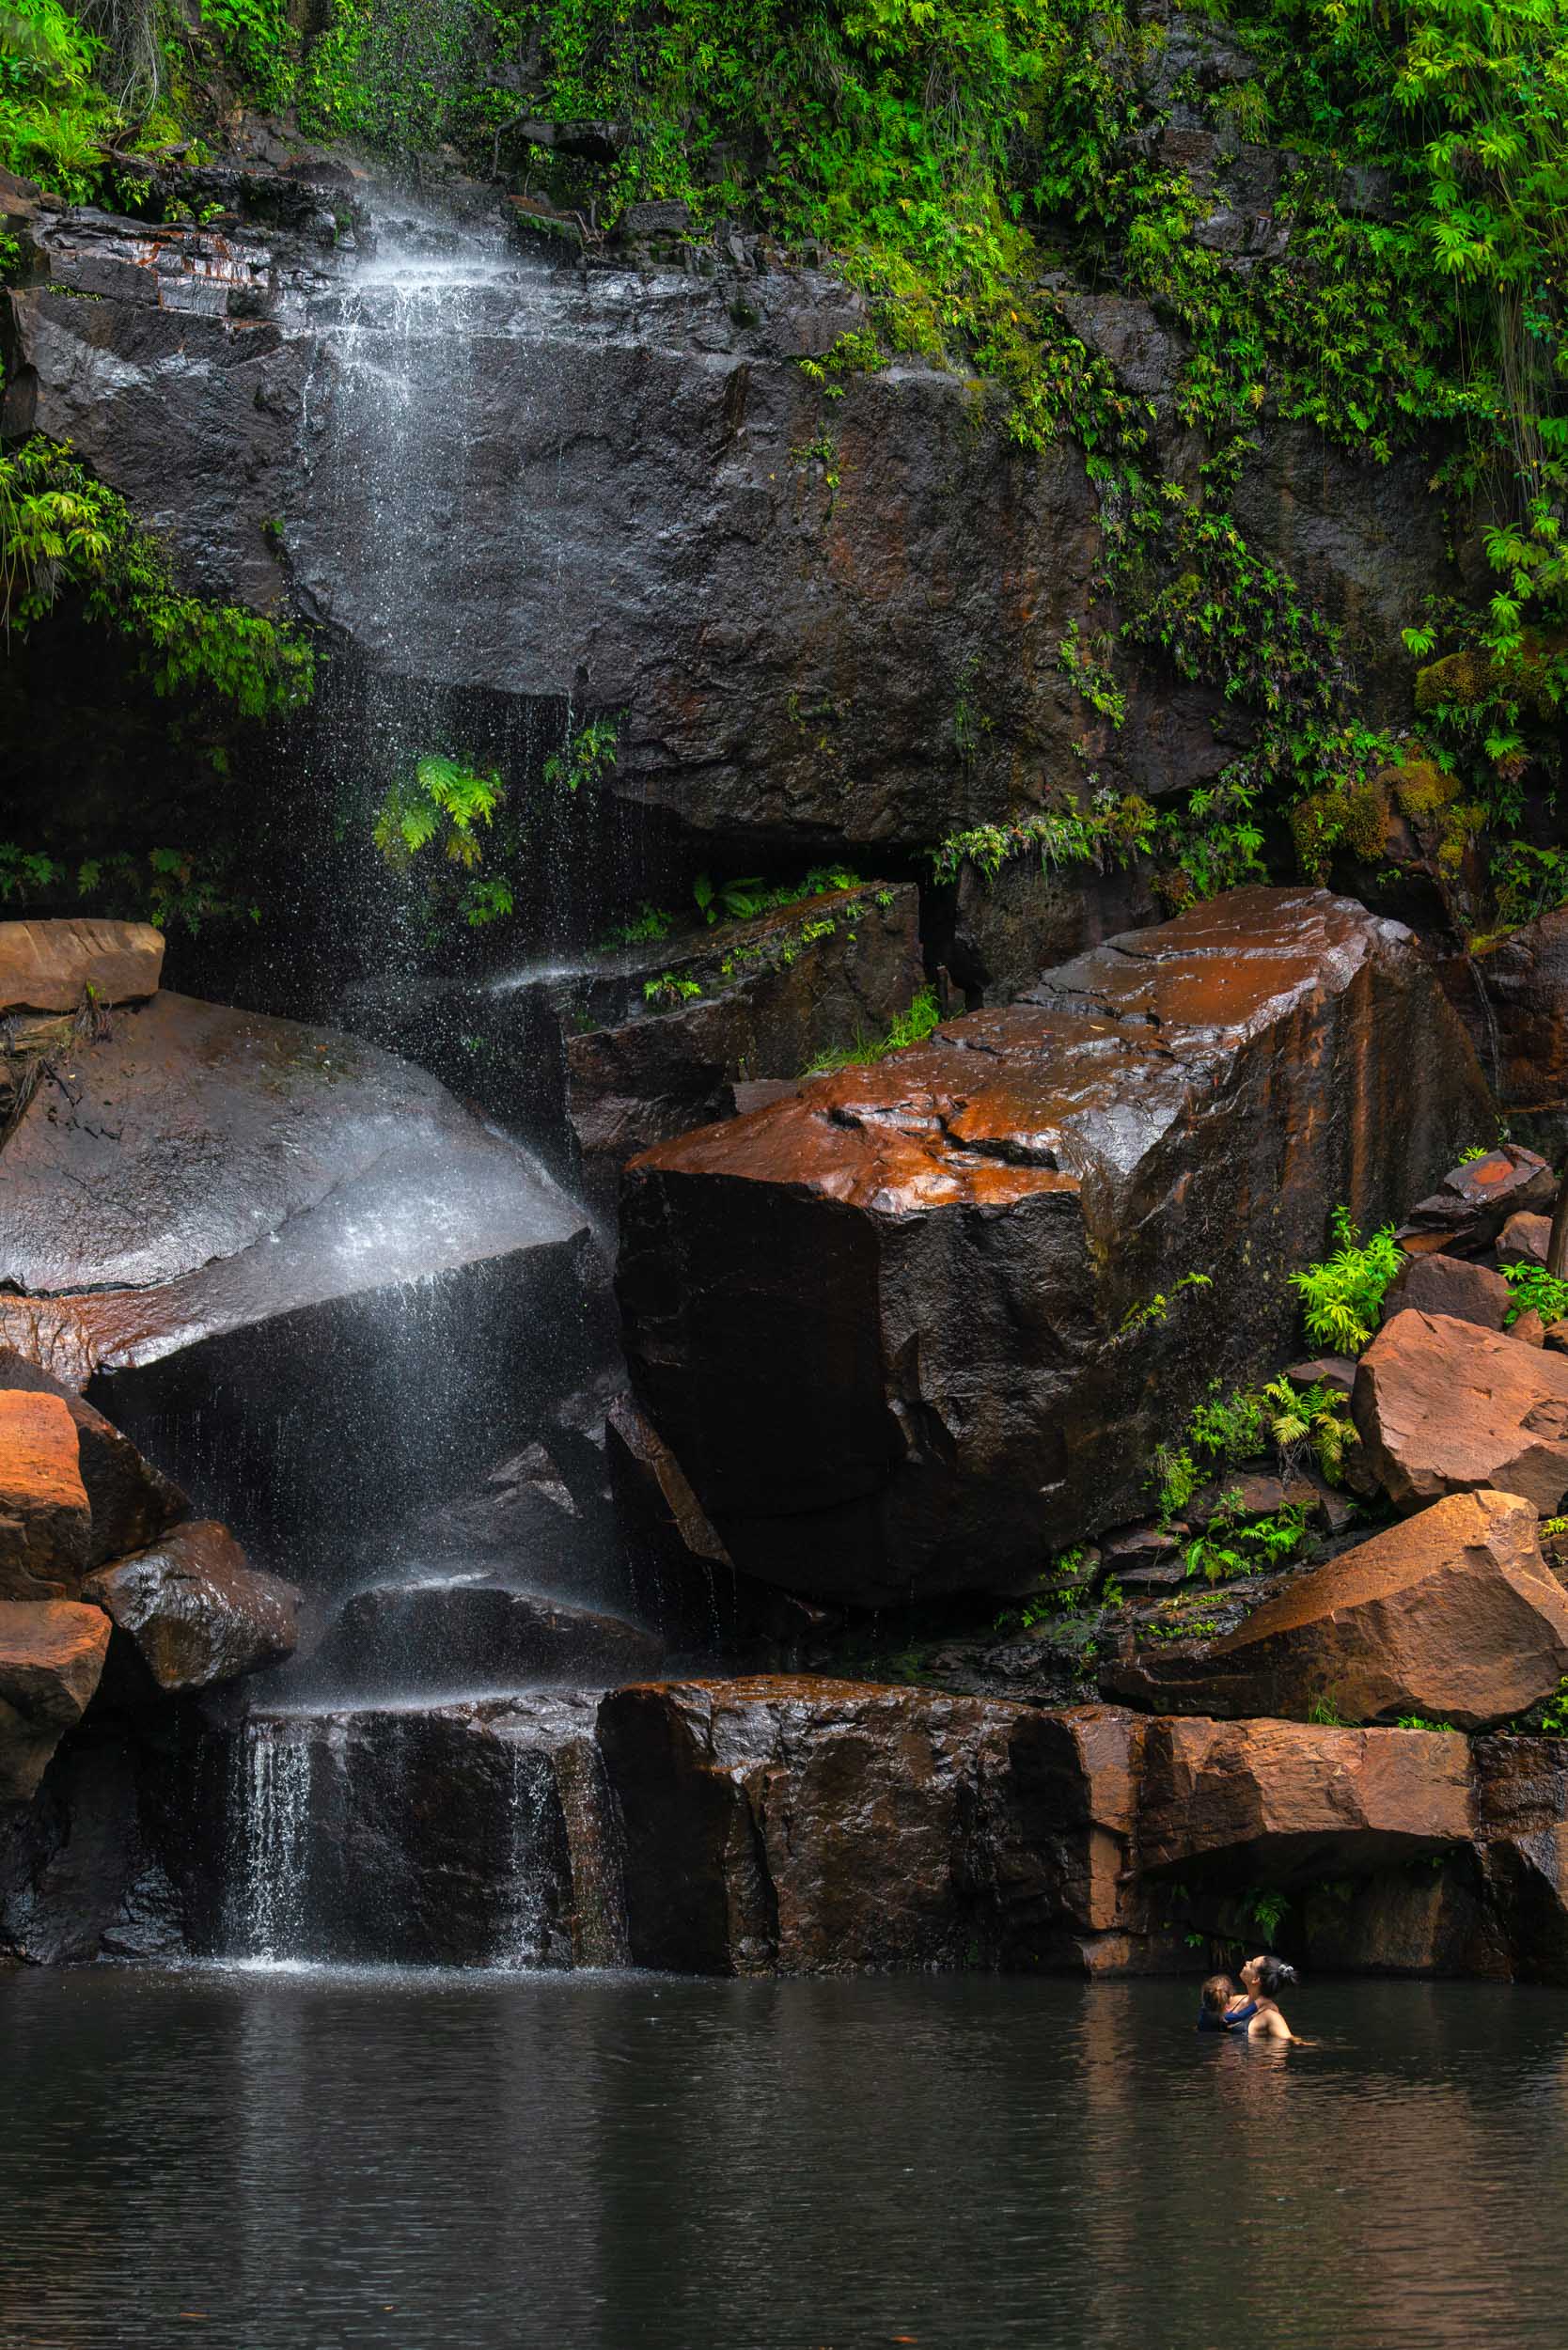
Devil’s Punchbowl Falls, Arthur’s Pass
There is truly something special about photographing waterfalls. One of my favourite parts is the anticipation that builds during the hike. Especially when it’s a location that you haven’t shot before, it’s recently rained, everything smells fresh and all the trees are glistening. Then in the distance you hear the roar of the water that gets louder with every step.
Devil’s Punchbowl Falls was that place for me in New Zealand.
The falls can be found at the end of a 2km return hike, situated in Arthur's Pass Village. The walk through the lush beech forest is enchanting and the falls themselves are approximately 130 metres high. I experienced some rain and strong blow back from the falls while shooting here but the view is definitely worth it.

Sony A7rII + Zeiss 16-35mm f/4 lens

Sony A7rII + Zeiss 16-35mm f/4 lens